iDraw 2.0 and Inkscape — From Unboxing to Your First Plot
Step-by-step iDraw 2.0 T setup with Inkscape on Windows, macOS and Linux — extension install, pen height calibration and the fixes for common snags.
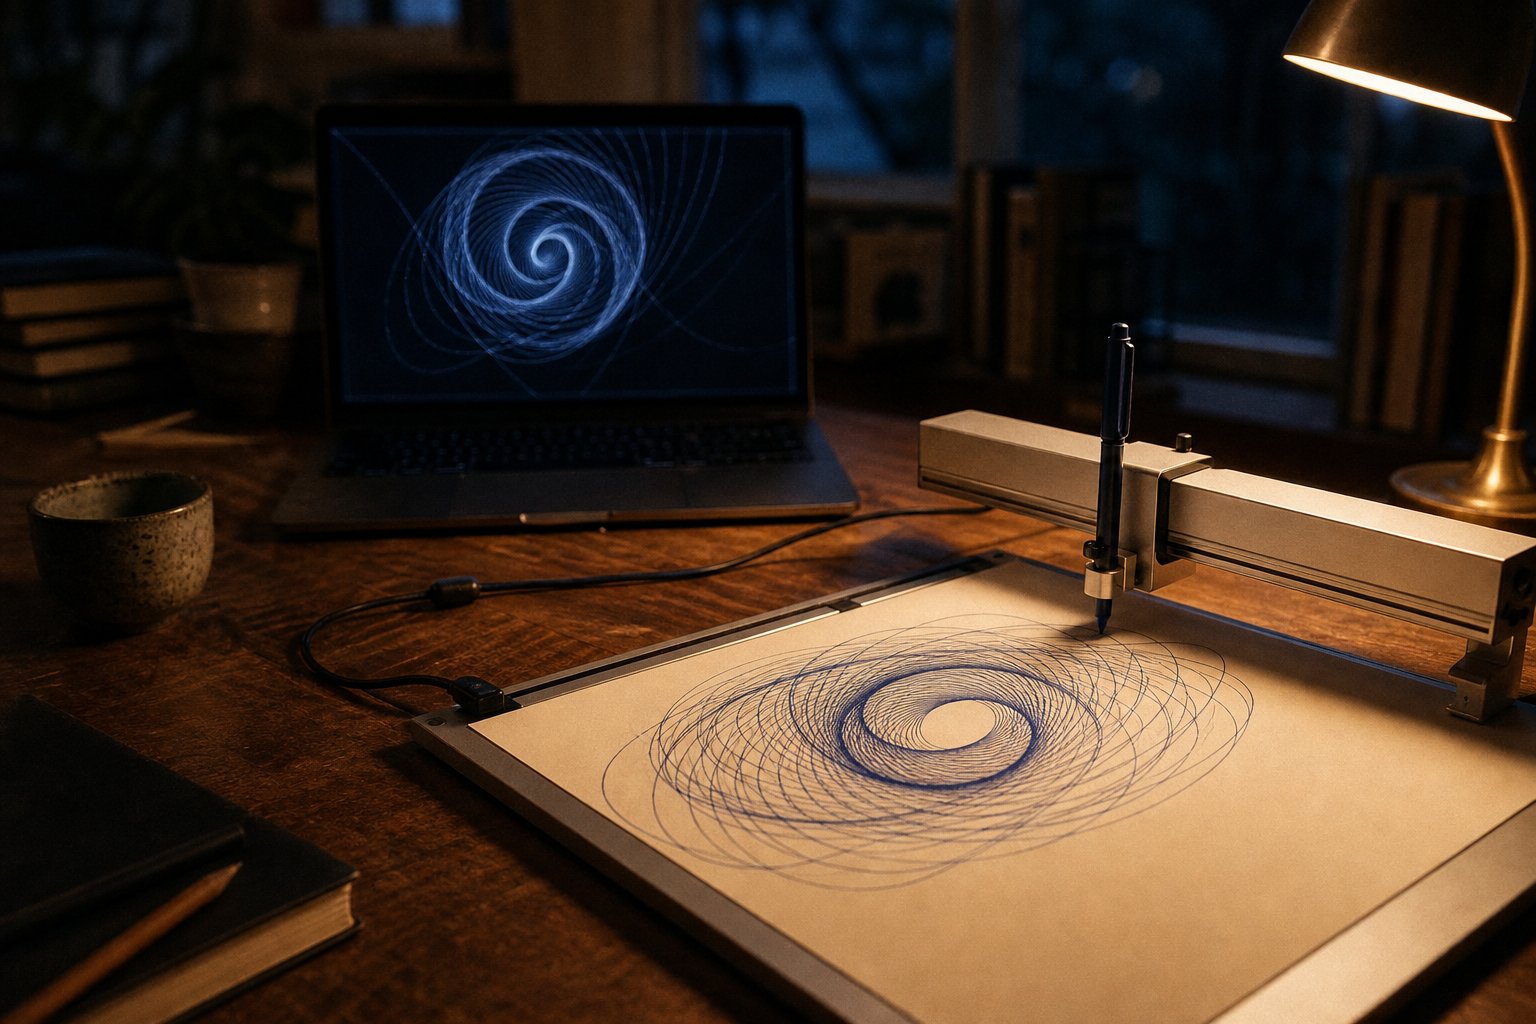
Setting up an iDraw 2.0 T with Inkscape takes about an hour: install Inkscape, add the iDraw 2.0 Control extension, set the model to A4, connect over USB, calibrate pen height, and send a test plot. This guide walks through each step on Windows, macOS and Linux, including the snags owners actually report.
Before you start
In the box you get the plotter, an A4 base plate, a tool kit and a quick-start guide. You supply a pen (any ballpoint, gel or fineliner that fits the holder), A4 paper, masking tape and a computer with a free USB port. The machine speaks standard G-code through a GRBL-compatible board — community terminals report it as Grbl 1.1h DrawCore V2.09 — which matters later when you outgrow Inkscape and want the wider toolchain.
Important protocol note: do not install the AxiDraw Inkscape extension. iDraw 1.0 used that protocol; version 2.0 does not, and the AxiDraw tools will simply fail to connect. Old forum posts that mix the two generations cause most first-day confusion.
Step 1 — Install Inkscape and the extension
Download Inkscape 1.3 or newer from inkscape.org, then the iDraw 2.0 Control extension from the official UUNA TEK download area. Copy the extension files into Inkscape’s user extensions folder (Edit → Preferences → System shows the exact path on your OS), then restart Inkscape. The extension appears under Extensions → iDraw 2.0 Control.
Step 2 — Tell the extension which machine you own
Open Extensions → iDraw 2.0 Control → Options → Config and set iDraw Model: iDraw A4. Skipping this is the number-one cause of plots that run off the paper edge, because the extension defaults may assume a different working area than your 297 × 210 mm bed.
Step 3 — Connect and test movement
Connect the USB cable and power on. On Windows, the board enumerates as a serial device; if nothing appears, install the CH340/CP210x driver from the quick-start guide. On macOS, grant Inkscape permission to access the serial device the first time. On Linux, add yourself to the serial group — sudo usermod -a -G dialout $USER, log out and in — the fix documented in the swart-studio notes where the device shows up as /dev/ttyACM0.
Use the extension’s manual jog controls to move the carriage. If motion is mirrored or reversed, re-check the model setting from Step 2 before touching anything else.
Step 4 — Calibrate pen height (the step everyone rushes)
Clip a cheap ballpoint in the holder, jog the carriage over scrap paper, and use the pen-up/pen-down toggle. You want pen-up to clear the paper by 2-3 mm and pen-down to touch with light, even pressure — enough to leave a clean line, not enough to flex the nib. The holder accepts pens at a 70-90° angle; start vertical and only tilt for brush pens. Owners on r/PlotterArt confirm this calibration is the real learning curve, and that patience here pays off across every future plot. Pen-down values and travel speeds vary with the pen, paper and machine setup, so begin with the extension defaults, run a small grid on scrap paper, and change one setting at a time. Do not copy an unverified numeric preset into a production drawing.
Step 5 — Your first plot
Draw or import a simple vector in Inkscape — a single word in a stroke font, or a spiral. Convert text to paths (Path → Object to Path), make sure your document is A4, tape your paper square to the base plate, park the carriage at the home corner, and hit Apply in the extension’s Plot tab. Stay within reach of the power switch on a first run.
Line wobbly? Slow the plot speed down. Lines doubled? Your paper moved — tape all four corners. Plot mirrored? Model config again.
Platform notes owners actually need
- macOS: the extension works but the UI feels dated, and several Mac owners in the iDraw review thread describe it as clunky. It is usable for single plots; batch work is nicer via the command-line route below.
- Linux: first-class citizen in practice. The community has documented everything from udev permissions to full headless plotting from a Raspberry Pi.
- Windows: smoothest driver experience; just mind the COM port number if you use multiple USB devices.
When you outgrow the extension
Inkscape is the right first tool, but its plot queue is manual. When you want optimised paths, multi-pen colour separation or hundred-card batch runs, graduate to the vpype pipeline — the idraw_v2 output profile ships in vpype-gcode, and a Christmas-card production workflow built on py5 → vpype → gcode-cli is publicly documented proof the route works at scale. Our vpype tutorial covers the exact commands.
Quick troubleshooting reference
| Symptom | First fix |
|---|---|
| Extension not listed | Files in wrong folder; restart Inkscape |
| No serial device | Driver (Win), permissions (mac/Linux dialout) |
| Plot runs off paper | Model not set to A4 in Config |
| Skipped lines at speed | Reduce speed; check belt tension with the supplied tool |
| Curves come out faceted | Export resolution too low; increase nodes — the board draws straight segments only |
Setup is a one-evening job, and everything after that is pens, paper and ideas. If you are still deciding whether this machine fits your workflow, the product page lists full specs and UK stock, and the FAQ answers the pen, paper, noise and software questions we hear most.